[Author’s Note: This is quite a long post. So before we start I’ll say get a drink and a snack, and make sure you’re sitting somewhere comfy!]
If you’ve not read Part 1 yet, you can find it here. But if you’d prefer a TL;DR synopsis, then:
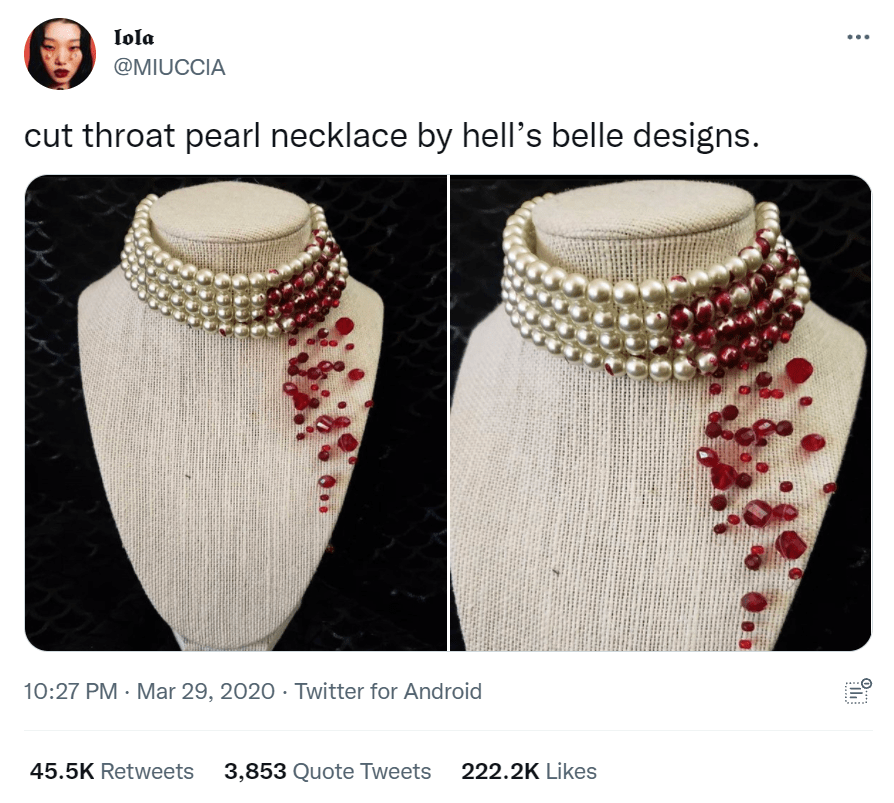
- I saw an image of a cut throat/vampire bite/blood splattered-looking pearl choker necklace online and wanted it
- I saw how much it cost, and how long it would take to ship
- I decided I will make my own instead
I set about beginning this piece of jewellery the way I usually do: shopping my stash. I’m something of a hoarder, so more often than not, I can have a dig around in bits and bobs that I already have and come up with just what I need. Or at least, something very close. Though, I do love an excuse for a good nose around a bead shop, so I was half crossing my fingers that I couldn’t find what I needed at home.
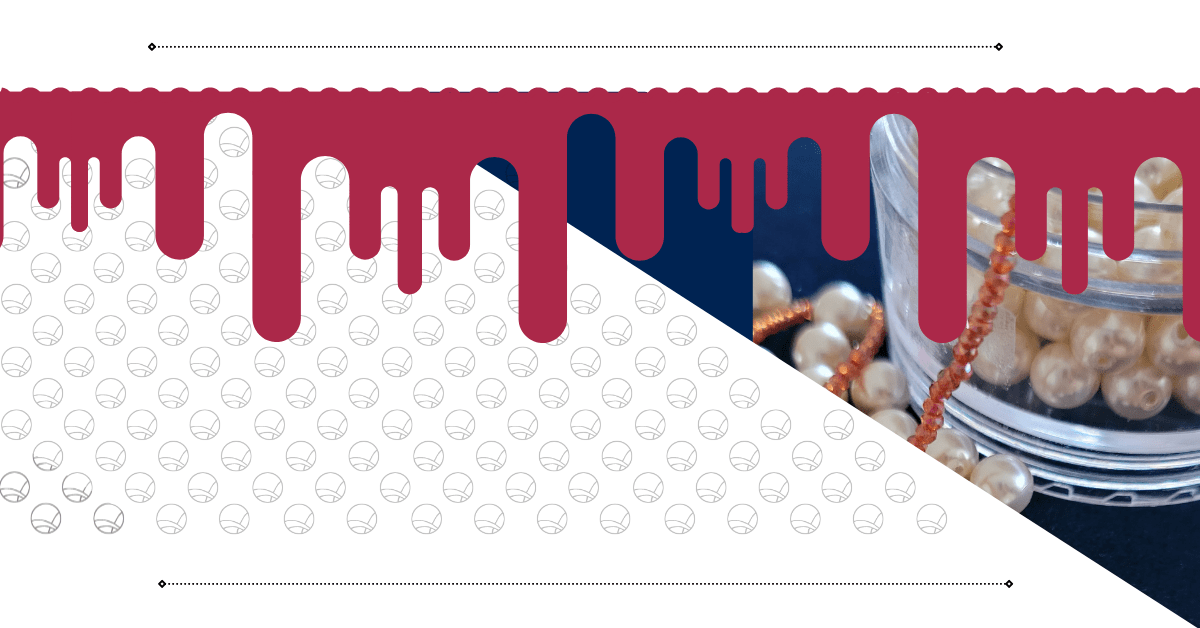
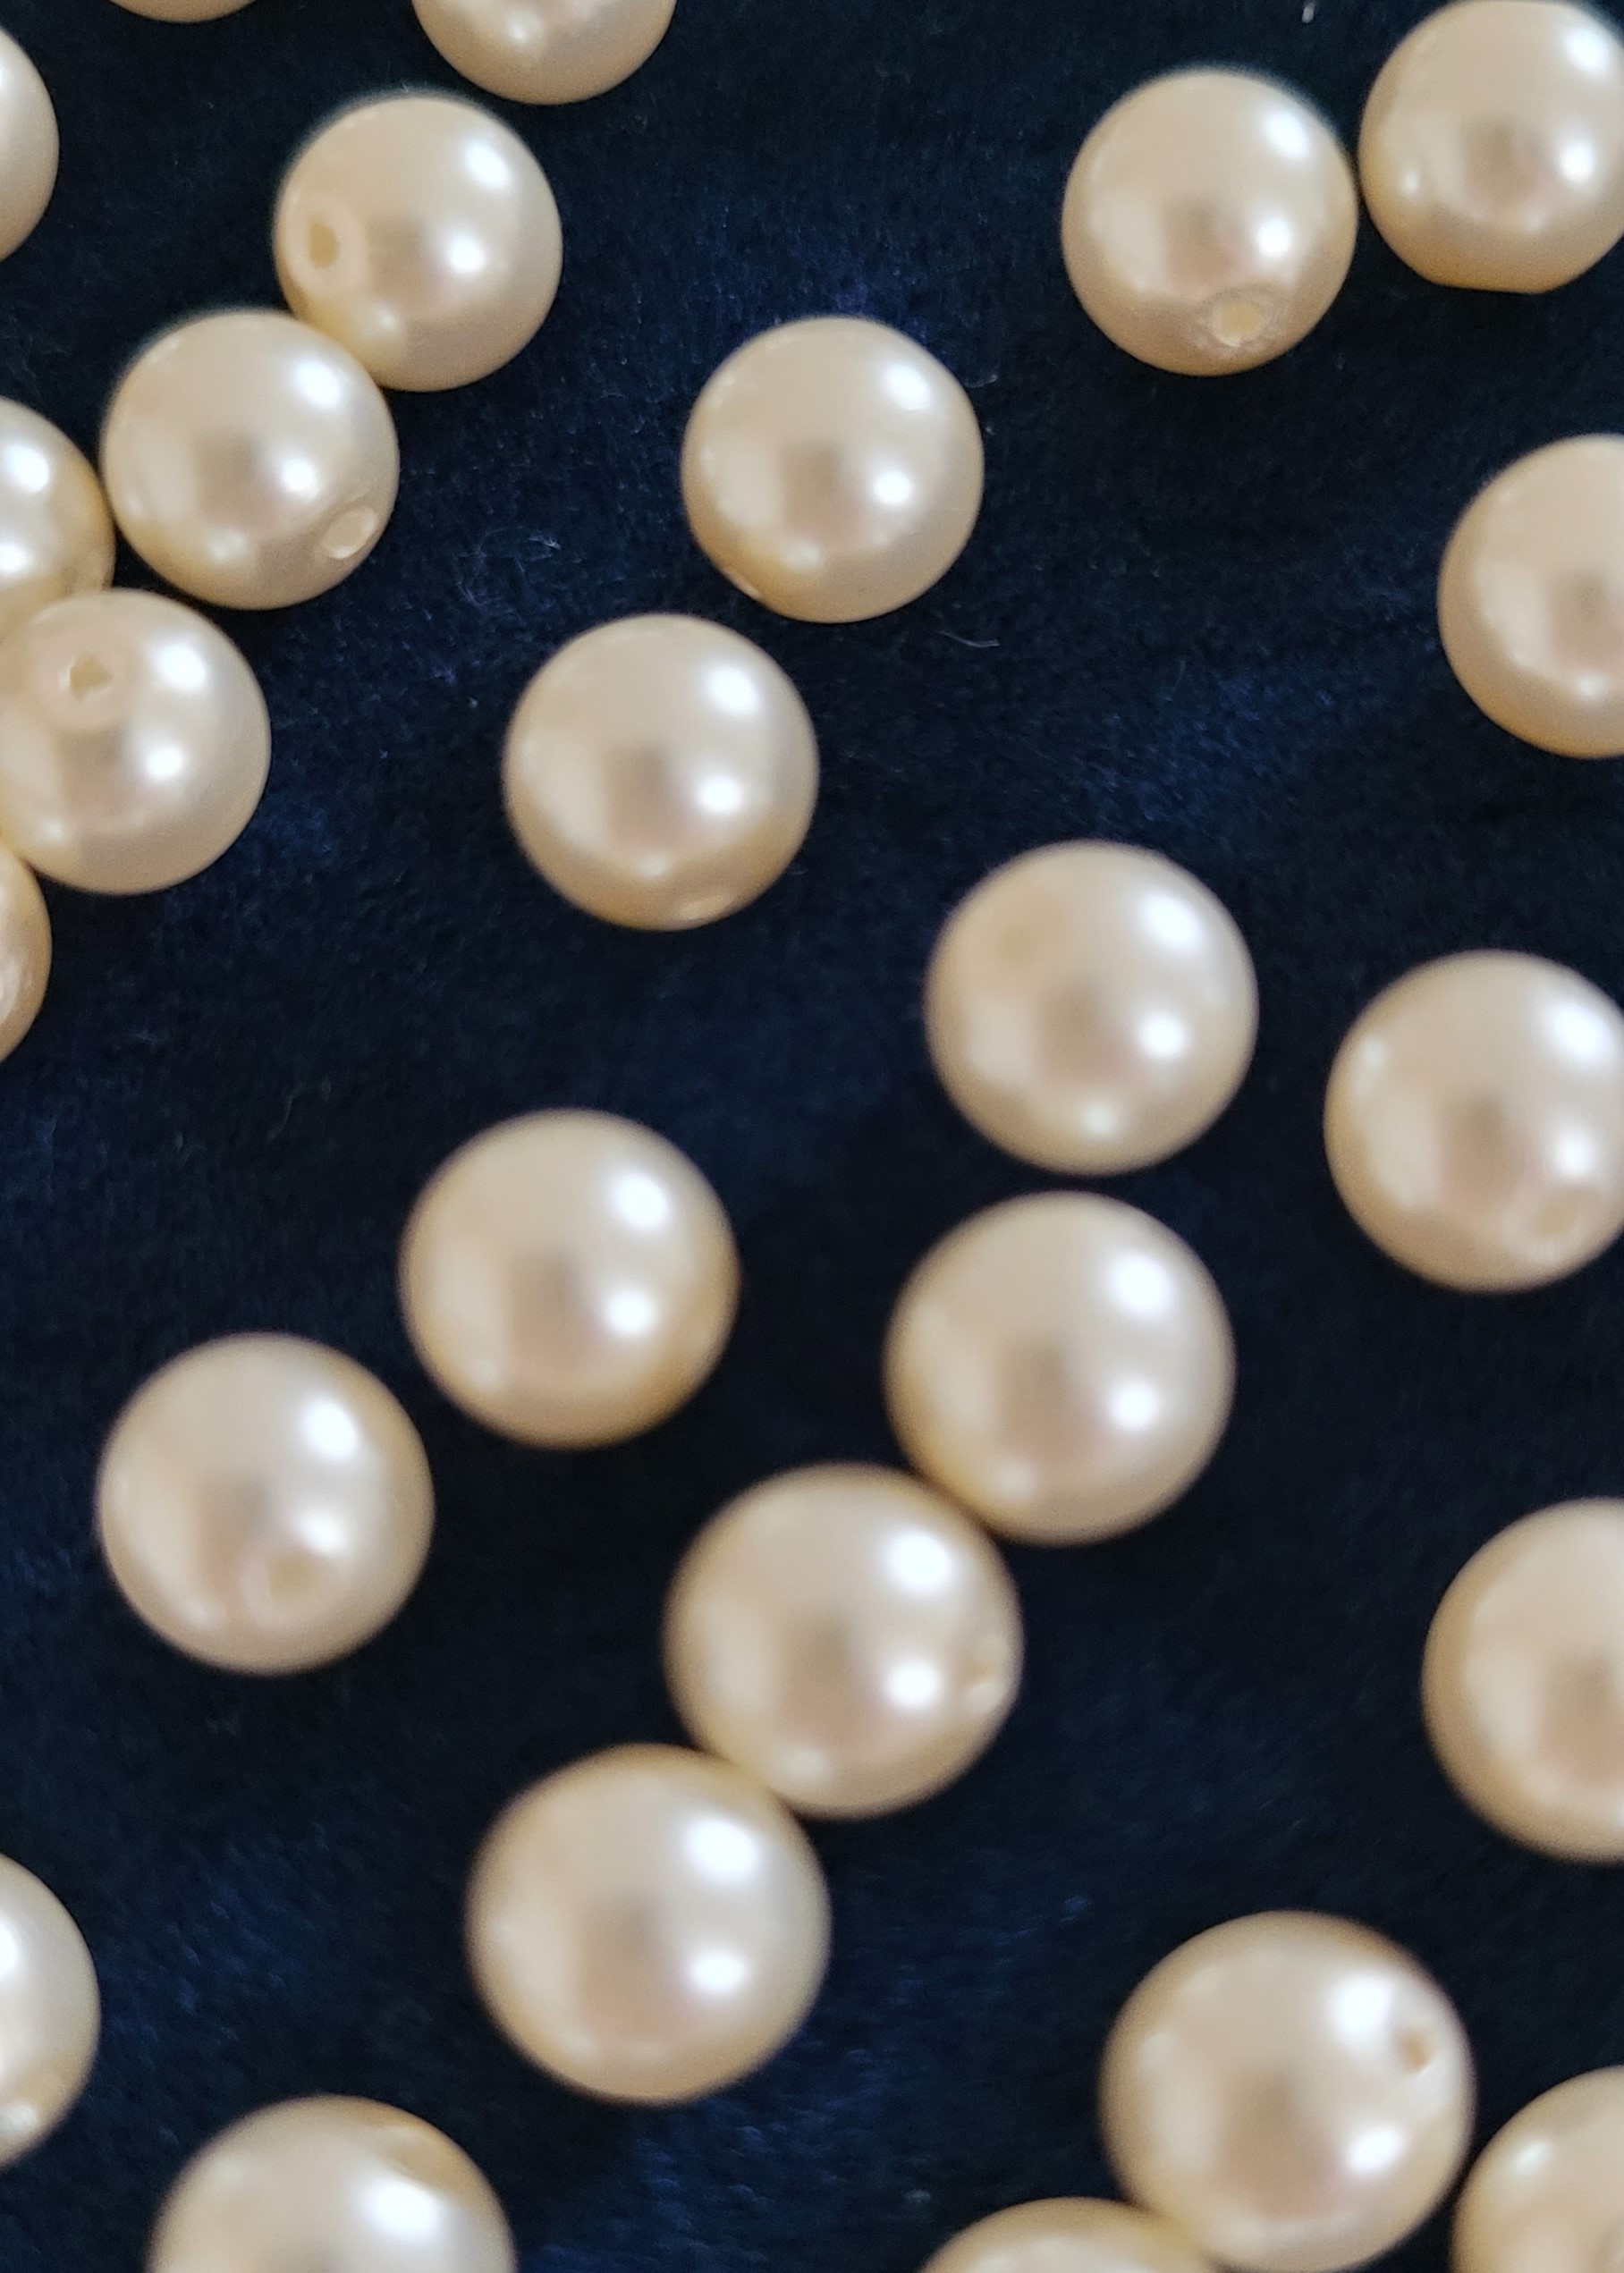
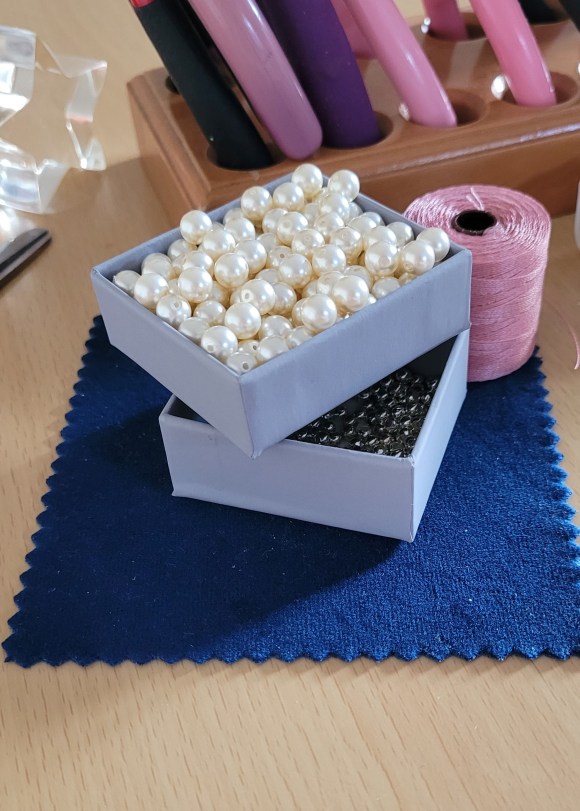
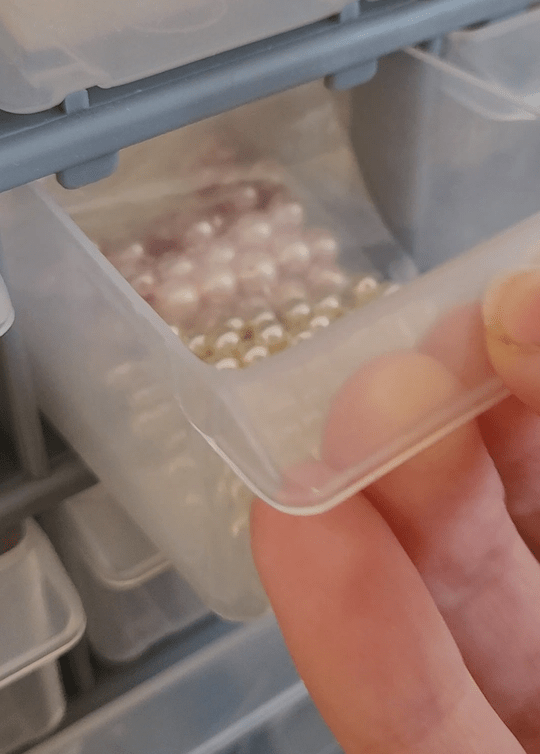
I found all kinds of different beading threads in my stash. And clasps and rings, and loads of pearls (synthetic, not real; but you likely spotted that because of how uniformly spherical they are). I love pearls like this. They look like pearls “should” to me. The kind that has a sort of, vintageyness and an antique…yness to them, while still holding their own in contemporary jewellery. Timelessness! Timeless is the word I was actually looking for. They’re a classic.
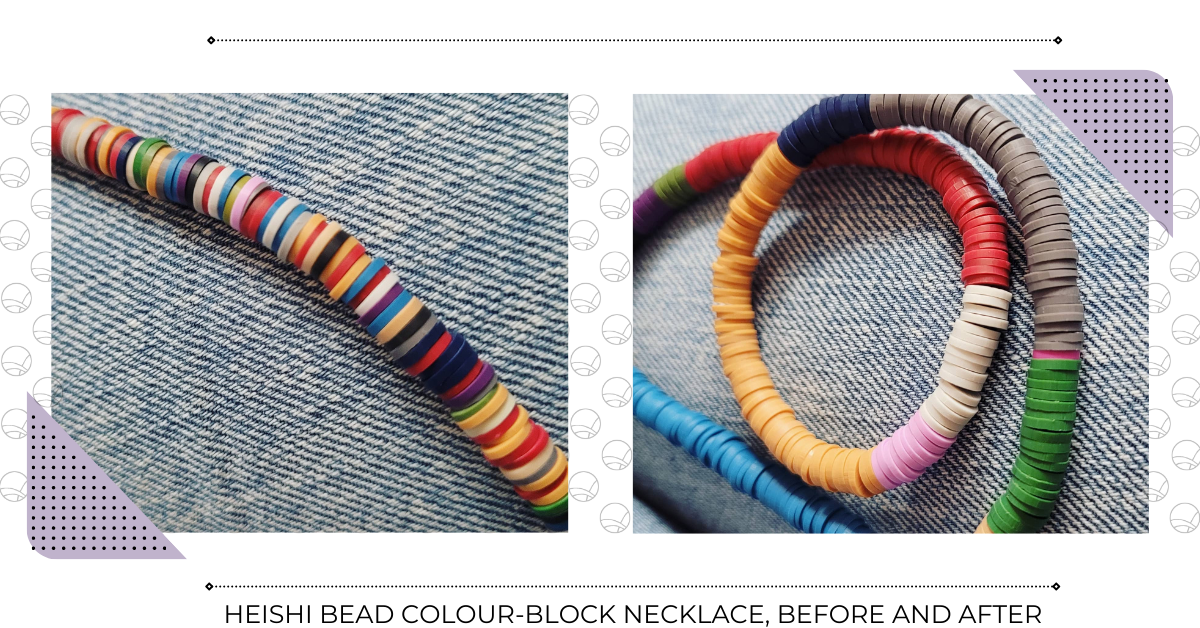
I don’t even remember what I got these for, originally. I do make a lot of coloured pearl bracelets and necklaces, so maybe that? Wonder why I never used them. Nothing seems to be wrong with them. But whatever the reason, I was happy I hadn’t used them already, because there was loads! And the colour was pretty much exactly what I needed. Brilliant!

But as you can see, I’d hardly got any red beads. This was not so brilliant.
It looked like I would have an excuse to buy things after all! This was quite a bit less not brilliant.
Right now, I have the mother of all sinus infections, which is a shame as I envisioned a nice little shopping montage for this part of the blog post. Never mind. Online shopping it would have to be!
While we wait for my order to arrive, I could tell about the first time I saw a ghost? It is spooky season. Plus, can I really call this a blog if I don’t pad it out with a bit of irrelevant backstory?
I was 7 years old, and just dossing about on my own in my living room one afternoon, looking at the books on the bookshelf. Not really searching for anything in particular; just nosing. They were mostly my parents’ books anyway.
Like I say, I was on my own… well, I thought I was. I happened to glance over to my left, and there was an old woman just standing there, on the far side of the room, facing me. She was short, with short, dark, wavy, greying hair, and she wore a colourful floral dress: mostly blue with a pink and green pattern. And now thinking about it, whether it’s just lost to memory I don’t know, but I don’t recall her having any facial features. I knew she was looking at me, though.
She didn’t move, and she didn’t make any sounds. And neither did I. She just kept looking at me, and I just kept looking back at her. I didn’t feel anything; not even surprise at this random old woman who had suddenly appeared in my living room. We lived in a first-floor flat (well, a maisonette; but I like alliteration)! I don’t think climbing the stairs would have been easy for her. I do, however, remember noticing a sudden smell of apples, which kind of ‘broke the spell’. I turned my attention back to the bookshelf, but when I looked back to where the old lady had been standing, she’d already gone, taking the scent of apples with her.
I didn’t see her again. And any other times I smelled apples were because we had actual apples in the fruit bowl. Anyway, the years go by, and I’d almost forgotten about what I’d seen. But then my mom happened to mention someone who used to live in our old place: an old lady who kept apples under her bed.
Who this old lady was, and whether anyone else had seen her since she passed, I don’t know. I might look into it one day.
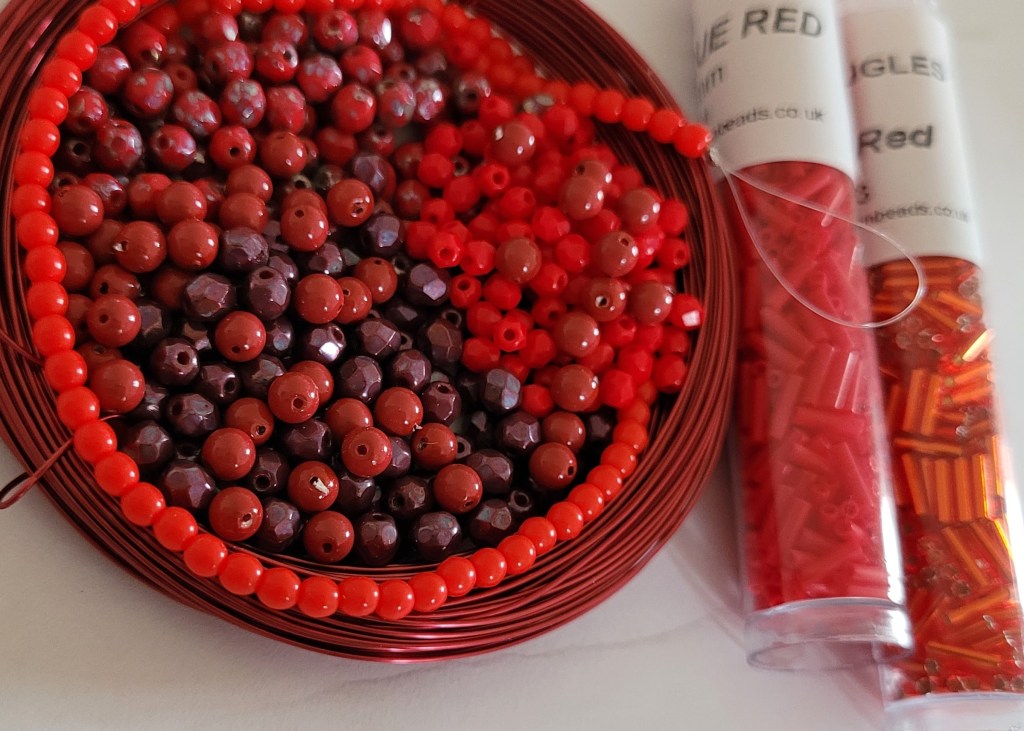
But not today, because my red beads are here now!
Today, it’s all about the pearls, so these beautiful beads won’t be making another appearance in this post. But they will be back, of course. So let’s have a quick look at them before I put them away, ready for a future update.
Okay, now I had all of the beads I could possibly ever need, I could, first of all, sleep more easily at night, knowing I have a much better chance of finishing this project in time for Hallowe’en. And secondly, I could finally, properly, begin to make my necklace.
Describing the process here, when I don’t intend for this to be a tutorial, might be a bit tiresome. So instead, here’s a quick slideshow of everything that happened:

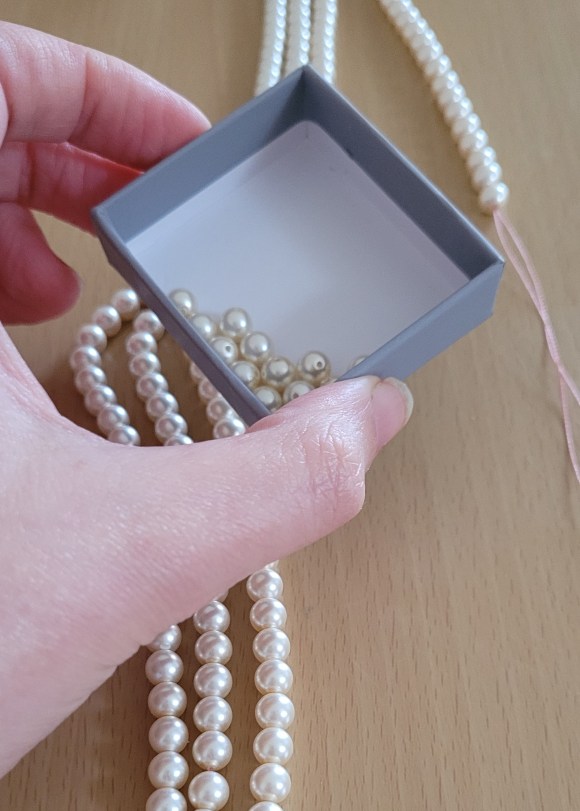


So, it was going quite well, until it wasn’t: I didn’t actually have enough pearls to make a 4 strand choker. I learned that I needed 64 of them. Per strand. Lesson learnt: count your beads before you start. What could I do?
Well, you saw what I did: I found more pearls, after a second, and more thorough “mom-look”, in my bead stash. These were a slightly smaller size. But the same colour and shape (this also answers a question I had earlier: by the looks of things I had intended to use them to make single-stranded necklaces). These pearls would go at the back, where they add to the length without being seen. There definitely weren’t enough to just remake the whole strands with them, at any rate.
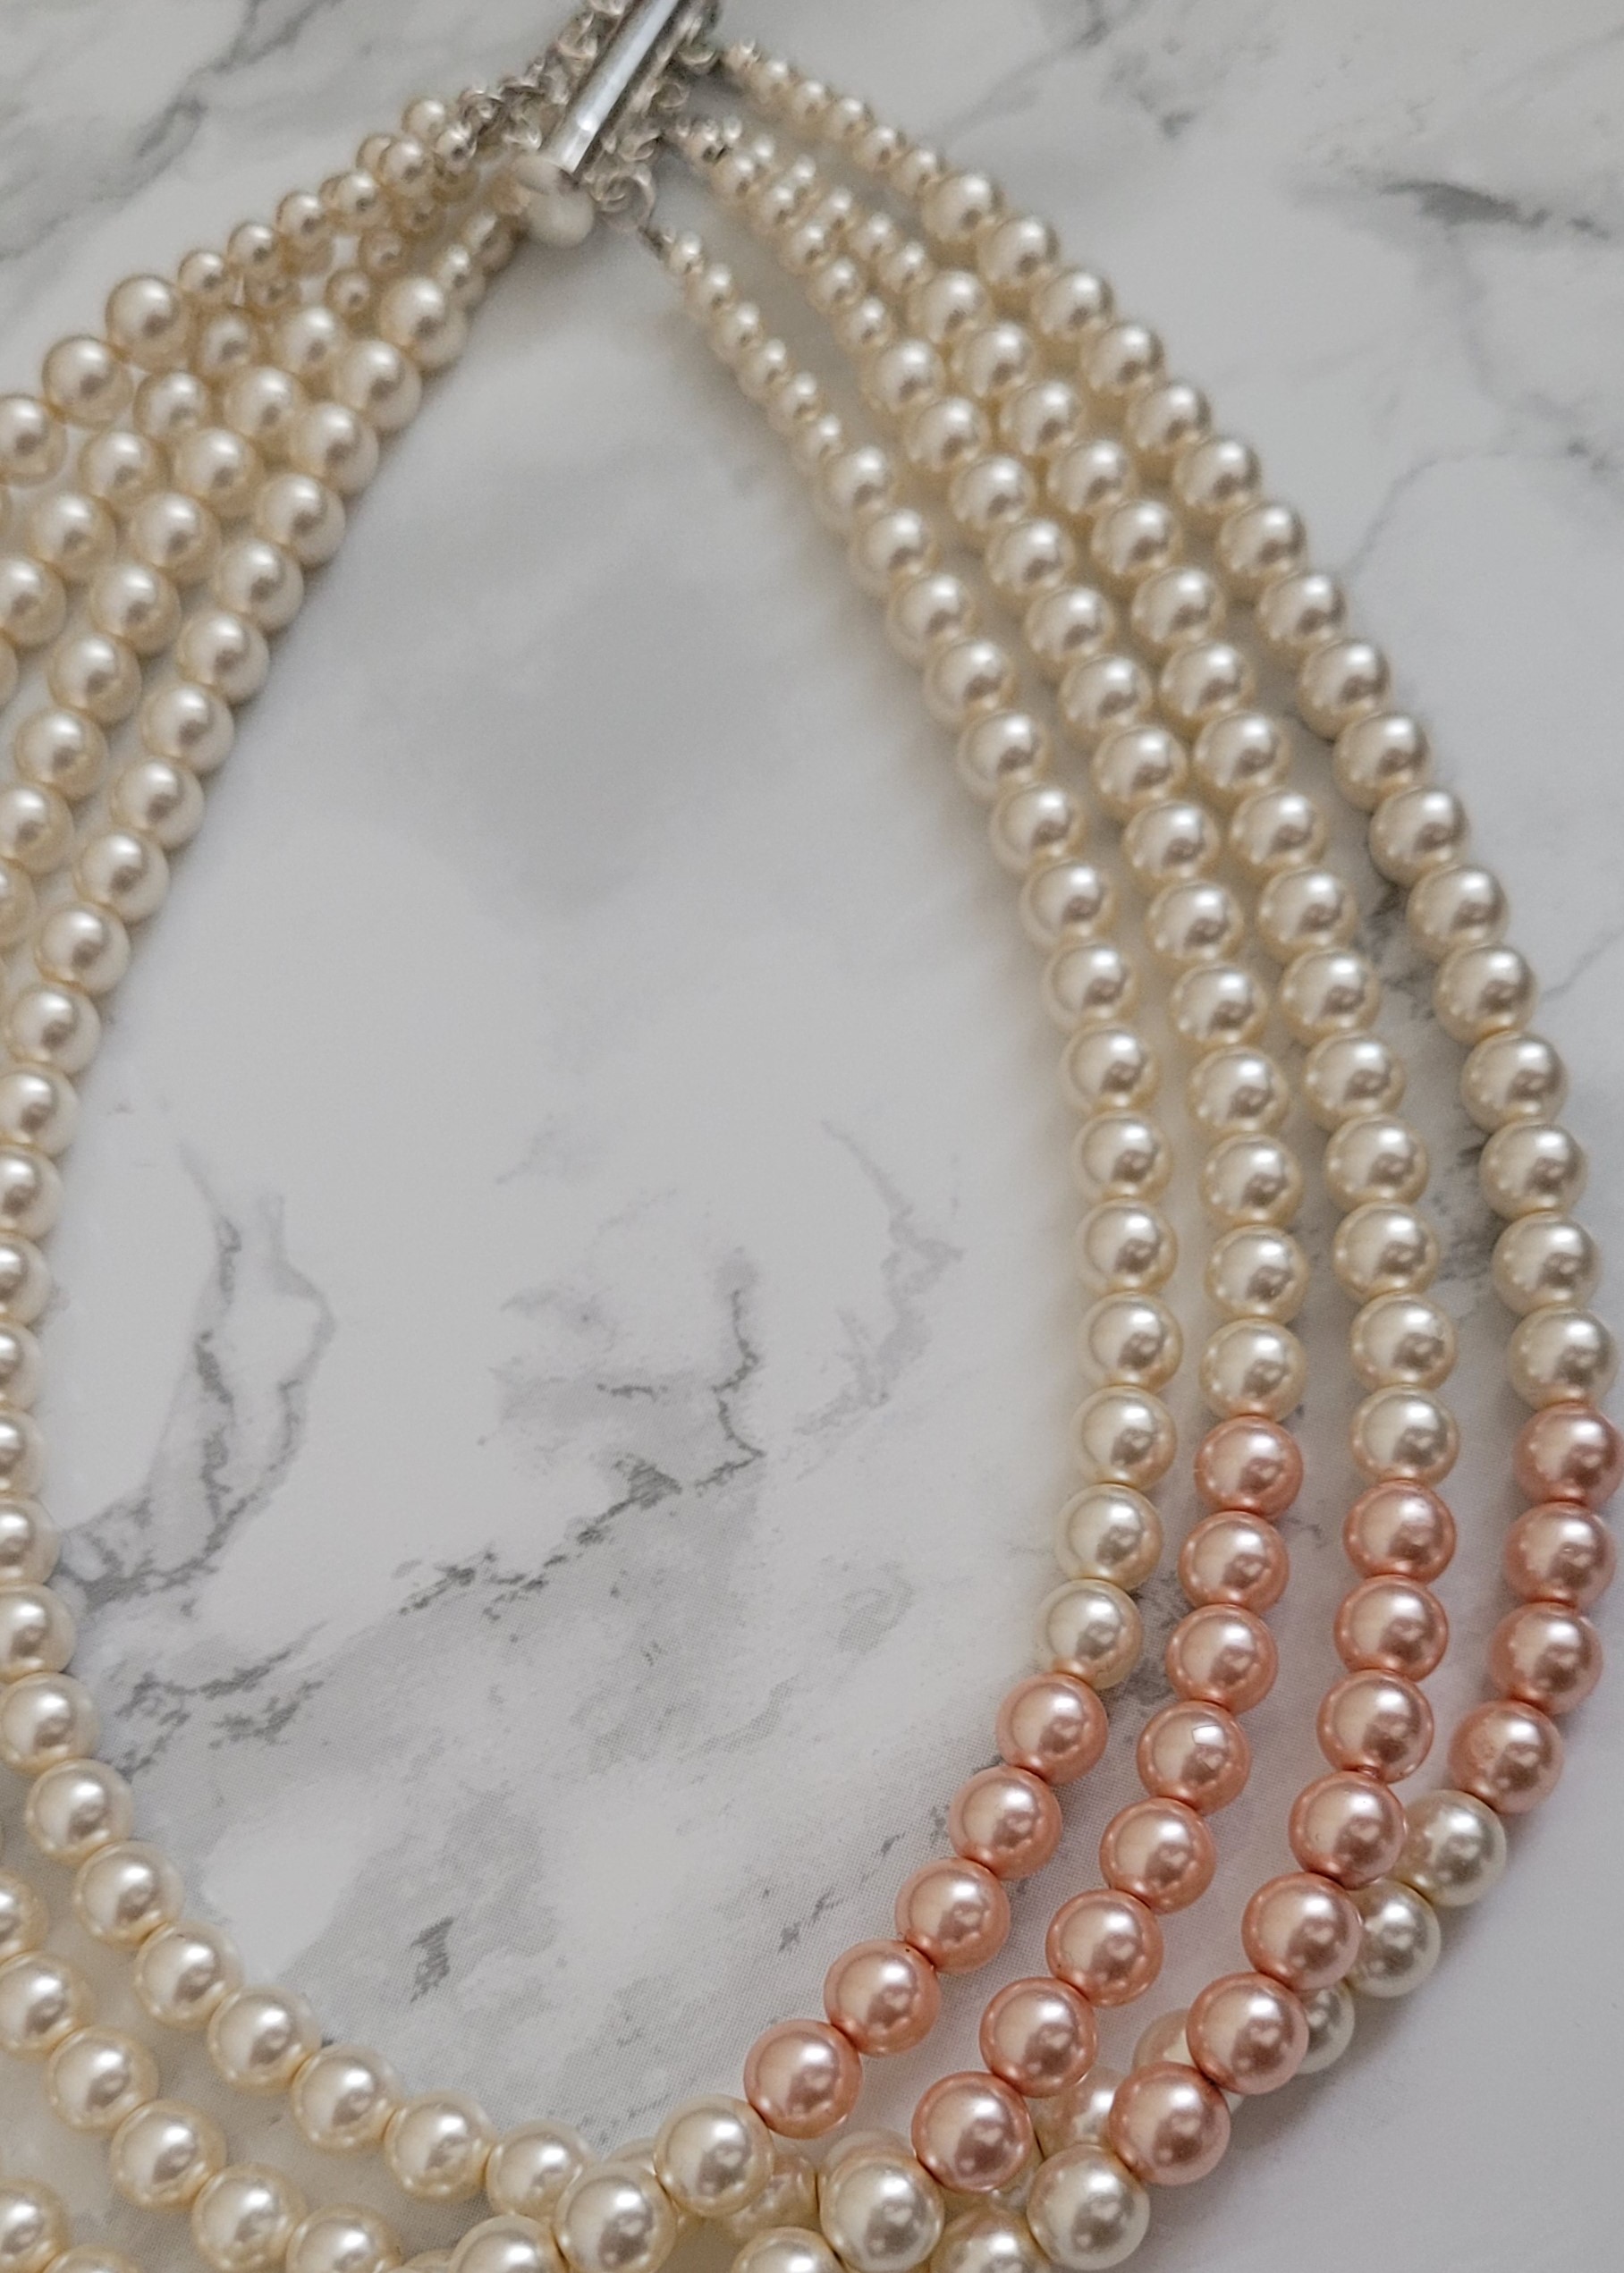
I did also find some more pearls of the same shape, and the same size, as the first one. Hooray! But they were all pink. They still are. Though that’ll’ve changed by this time next week.
So, panic over, I threaded all the pearls, being careful to make sure the pink ones were all grouped together, and that they would be just visible from the side when I actually put the choker on.
Like so:

It fits! It’s just the right kind of snug. And I’m feeling pretty smug! Well pleased with it and how it looks on. Almost (and I do mean almost) tempted to track down more of the cream colour beads and make another version of this as it is right now!
Though it was frustrating to have to basically start again, it turns out that the pink beads were more useful than just for filling space: they give me a visual cue for placement of the “blood spillage” beads. I love that. V. serendipitous.
Speaking of blood spillage, on the original necklace, there’s an area above the red beads where a load of shiny red… something looks like it’s been smeared or splashed onto the choker. Here, I’ll pop the picture in again:
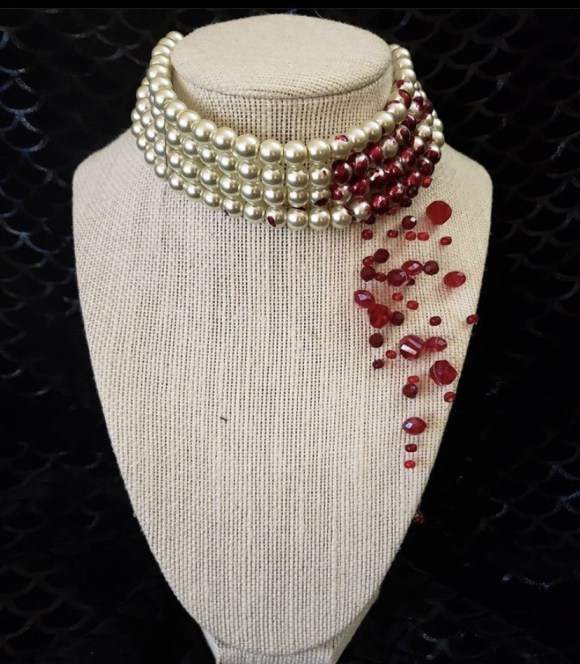
I love that. I think it might be my favourite thing about the piece. So, naturally, it’s the part I’m most hesitant to replicate. But I’ll do it anyway.
And that will be covered in Part 3 of this series, where I’ll be playing with paint, resin, and even a bit of nail polish! I’m aiming to get that posted on 15 October.
So if you want to see how that turns out, be sure to give this blog a follow so you don’t miss it.
That’s all for now. Thanks so much for popping in and having a read. Have a lovely rest of your day!
There’s lots more to come as this project develops, and while I work out a more consistent schedule for this blog, so please subscribe if you don’t want to miss future posts. And of course, likes and comments are muchly appreciated.
If you’d like to see more from me, you can find me on Instagram, Twitter, and Facebook, and of course, you can treat yourself and visit my Shop!